
Materials.Our focus when building our UAV was light and affordable.
|
Structure
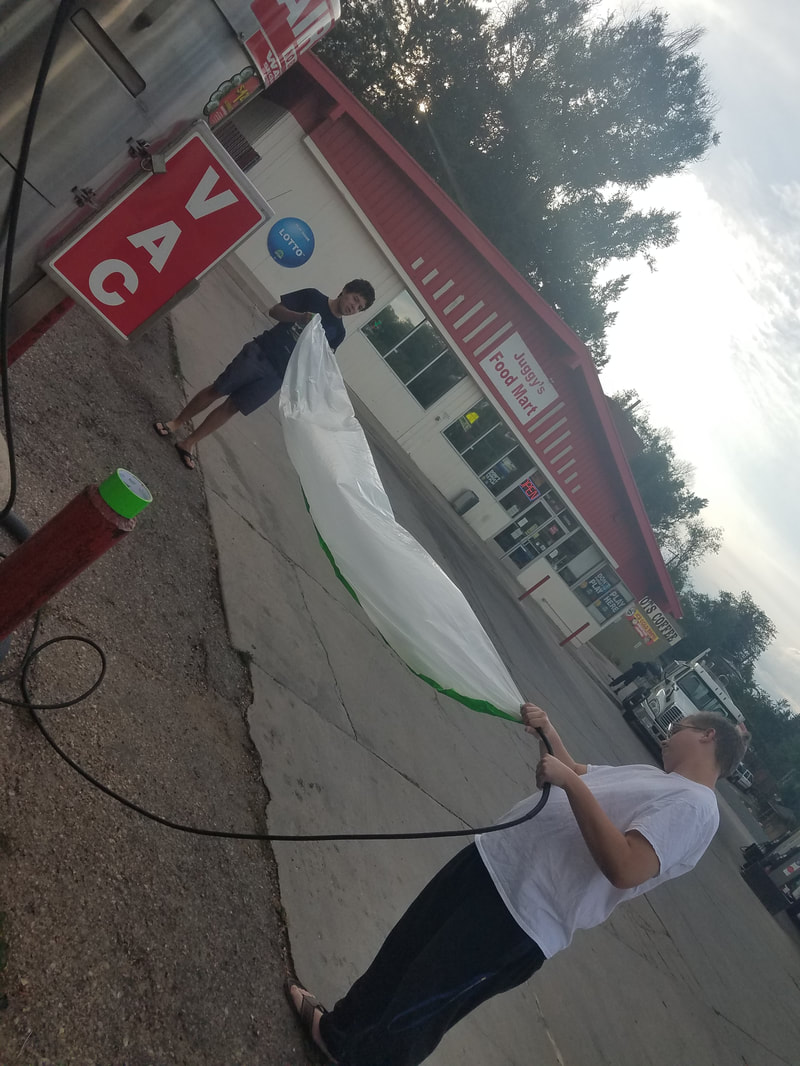
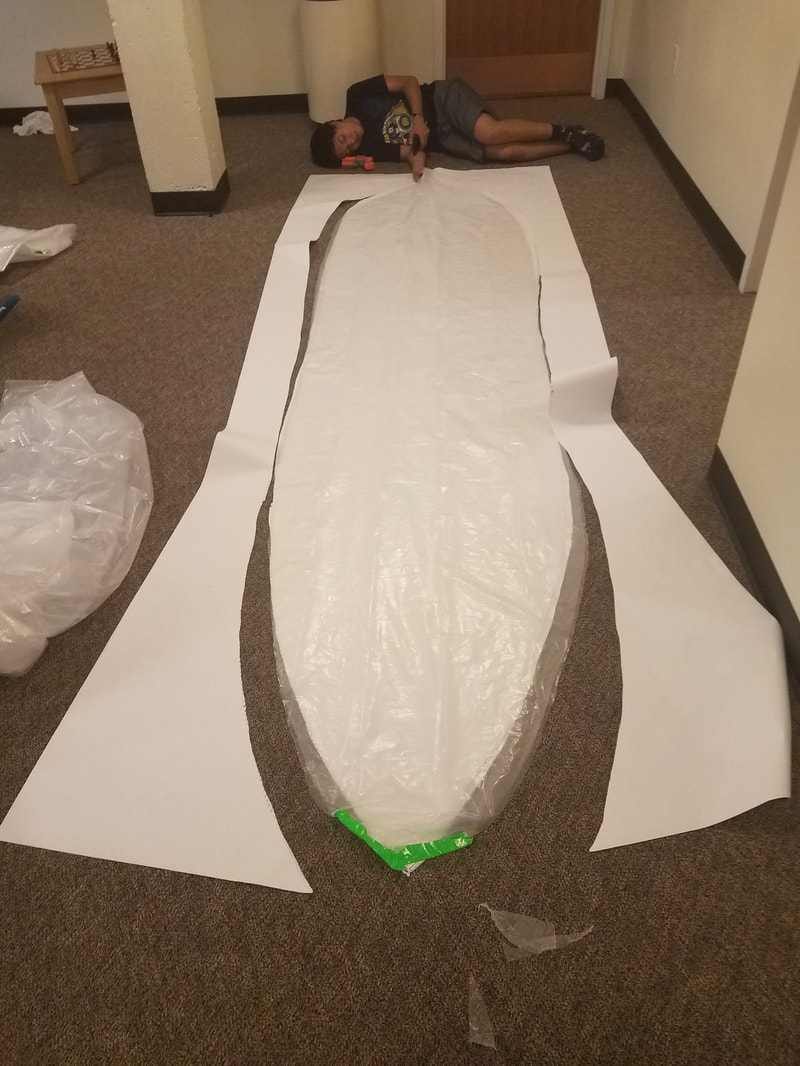
10ft x 20ft plastic drop cloth 1mm thick x1
3 bladed 4g Propellers x2 Duct Tape |
Tech45g Motors x2
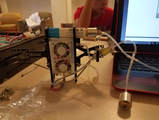
8g Servos x3 17g Speed Controller x2 Arduino Uno Circuit Board x1 DRX GA800HV Receiver x1 Connectors for Servos to Receiver x3 Receiver to controller connection key x1 2800-4000mAh/7.4v Lipo Battery x1 Hydrogen Fuel Cell x1 |
GassesHydrogen Gas
Helium Gas |
|
MethodsTo start, calculate the total mass of the dirigible, doing so will allow calculations to be done for the balloon. Helium can lift 1.0565 Kg/Cubic Meter at sea level so scaling balloon size to the weight of the rig is necessary. A good starting point for building is attaching the motors to the motor controllers. From there attach the positive and negative cables from the motor controllers to the Hydrogen Fuel Cell (HFC) or power source, splicing the cables from both motor controllers together may be helpful here to keep tidiness. Then, from the motor controllers take the three prong connections and connect to the receiver. From the receiver, connect to the Arduino Uno(Uno). From the Uno have the connectors go to the servos. The structure of the dirigible is a little less complicated than the wiring. The main part of the body is the balloon itself. From the calculations done earlier, fill the appropriate amount of “I” balloons to lift the body. Take the balloons and duct tape them together, effectively creating one balloon. Once that is made you can attach your wiring to the balloon using duct tape. Make sure the HFC, receiver, and Uno are on the bottom of the balloon for easy access for the other parts that need to access them. Attach two of the servos to the sides of the balloon using duct tape, from there hook up both of the motors to them and place the propellers on the motors.
|

|
